12 Appendix: Using the Opticare AI Camera
12.1 Introduction
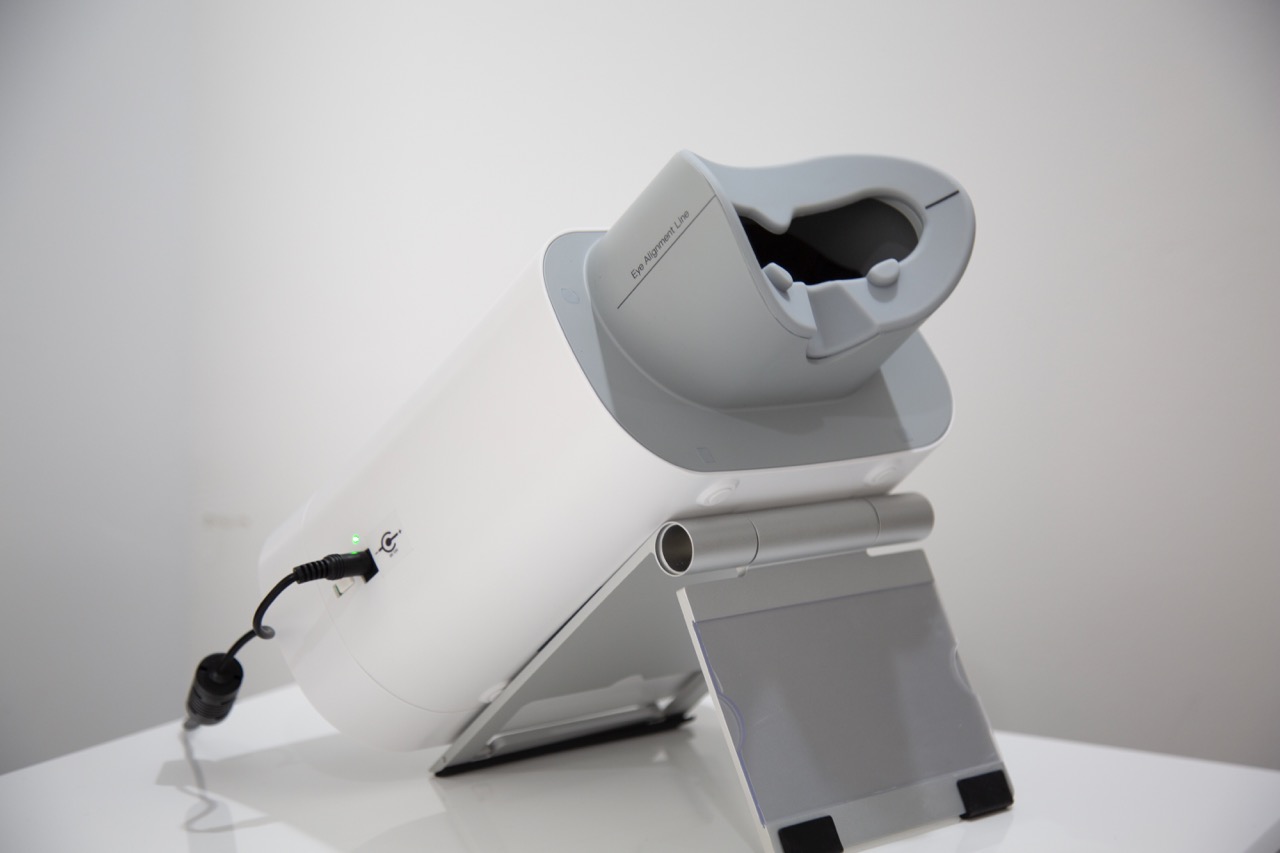
The Opticare AI camera combines sophisticated technology with user-friendly operation to provide quick, non-invasive retinal imaging. This chapter provides comprehensive guidance for getting the most out of your device, from initial setup through routine operation and maintenance.
12.2 Device Overview
12.2.1 Physical Specifications
- Dimensions: 297mm × 253mm × 125mm
- Weight: 2 kg
- Minimum pupil diameter requirement: 2.8 mm
- Field angle: 40 degrees
- Camera resolution: 12 million pixels
12.2.2 Key Components
- Power indicator light
- Micro HDMI interface
- USB-B interface
12.3 Initial Setup
12.3.1 Equipment Requirements
- Stable table or cart
- Power outlet
- Reliable internet connection
- (Optional) Computer or tablet with Windows 10 or higher
- USB cable (provided)
- Power adapter (provided)
Follow these steps to get started:
Unpack the Camera: Open the case, take out the camera and the stand.
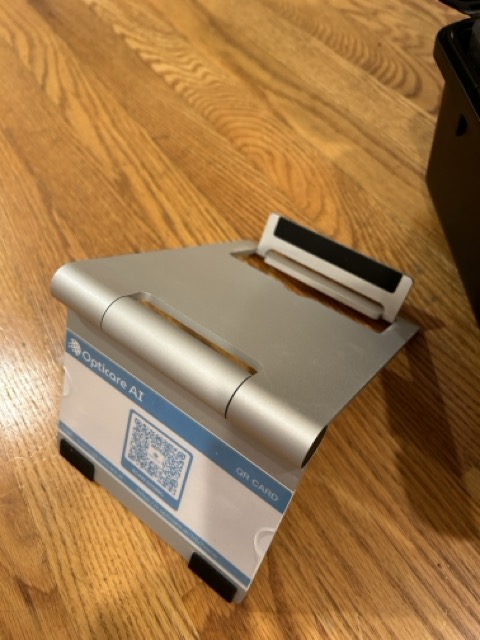
Set Up the Stand: Unfold the stand. Ensure the QR code is facing front. You can take out the QR code if you choose to not letting the users to scan themselves.
- Remove the key The camera is locked for transportation. Unlock by removing the screw key located at the bottom of the device.
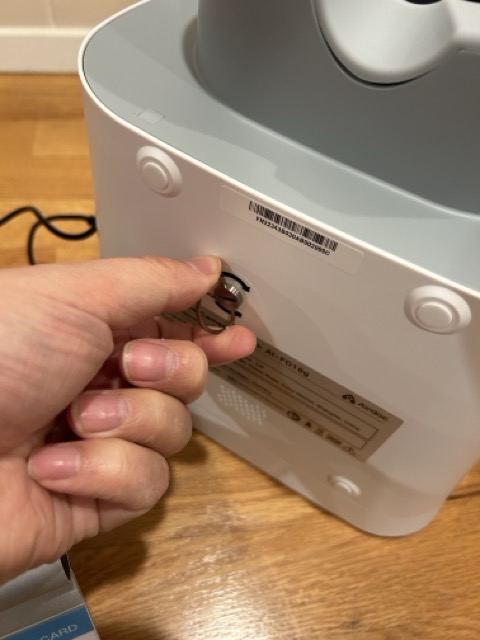
You will need the key when you pack the camera for transportation, so put it in a place where you won’t lose it.
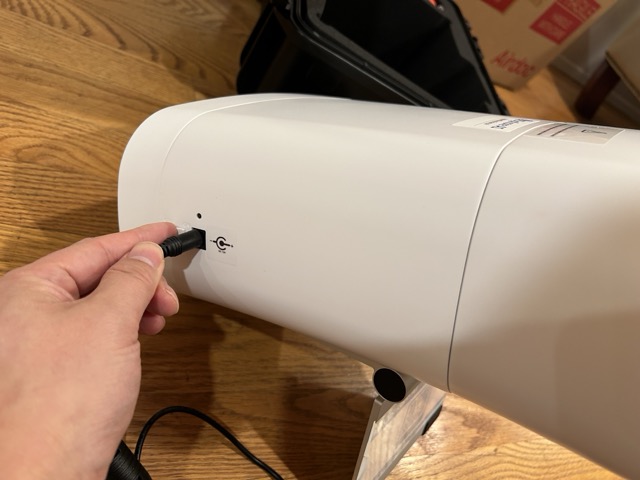
Power Connection: Connect the power adaptor and switch on the power located on the left side of the camera. The green indication led should be on.
Initialization: Wait for the camera to initialize and prompt you for the next steps.
The camera is pre-configured with your Wi-Fi network. You should hear the message: “Connected to the network,” confirming it is connected to your Wi-Fi. Please refer to the email for the Wi-Fi that the device is configured with.
Unlock the Camera: Press the larger white button on the right side of the camera three times quickly. This unlocks the camera. There is a lock key under the camera that needs to be unscrewed for unlocking.
12.3.2 Environment Optimization
- Room lighting: Moderate to dim
- Temperature: Maintain between 5°C - 40°C
- Humidity: Keep between 10% - 90%
- Avoid direct sunlight on equipment
- Ensure adequate ventilation